Showing posts with label bathroom. Show all posts

Monday, December 12, 2022

Bathroom Refresh

Our upstairs (main) bathroom has been functional but not very attractive for the years we've lived here so we decided to update it. Since we only have the one tub/shower we didn't modify that area this time around. But everything else was updated or replaced except for the toilet which I had already replaced several years ago.

I began this project with removal of our personal effects from the vanity and wire shelving we had installed on the wall to the right of the sink. Then the mirror, vanity, and toilet were removed. The vanity and top were donated to ReStore and the toilet was saved for reinstallation later.


Begging demo work. Mirror already removed.

Fixtures removed.

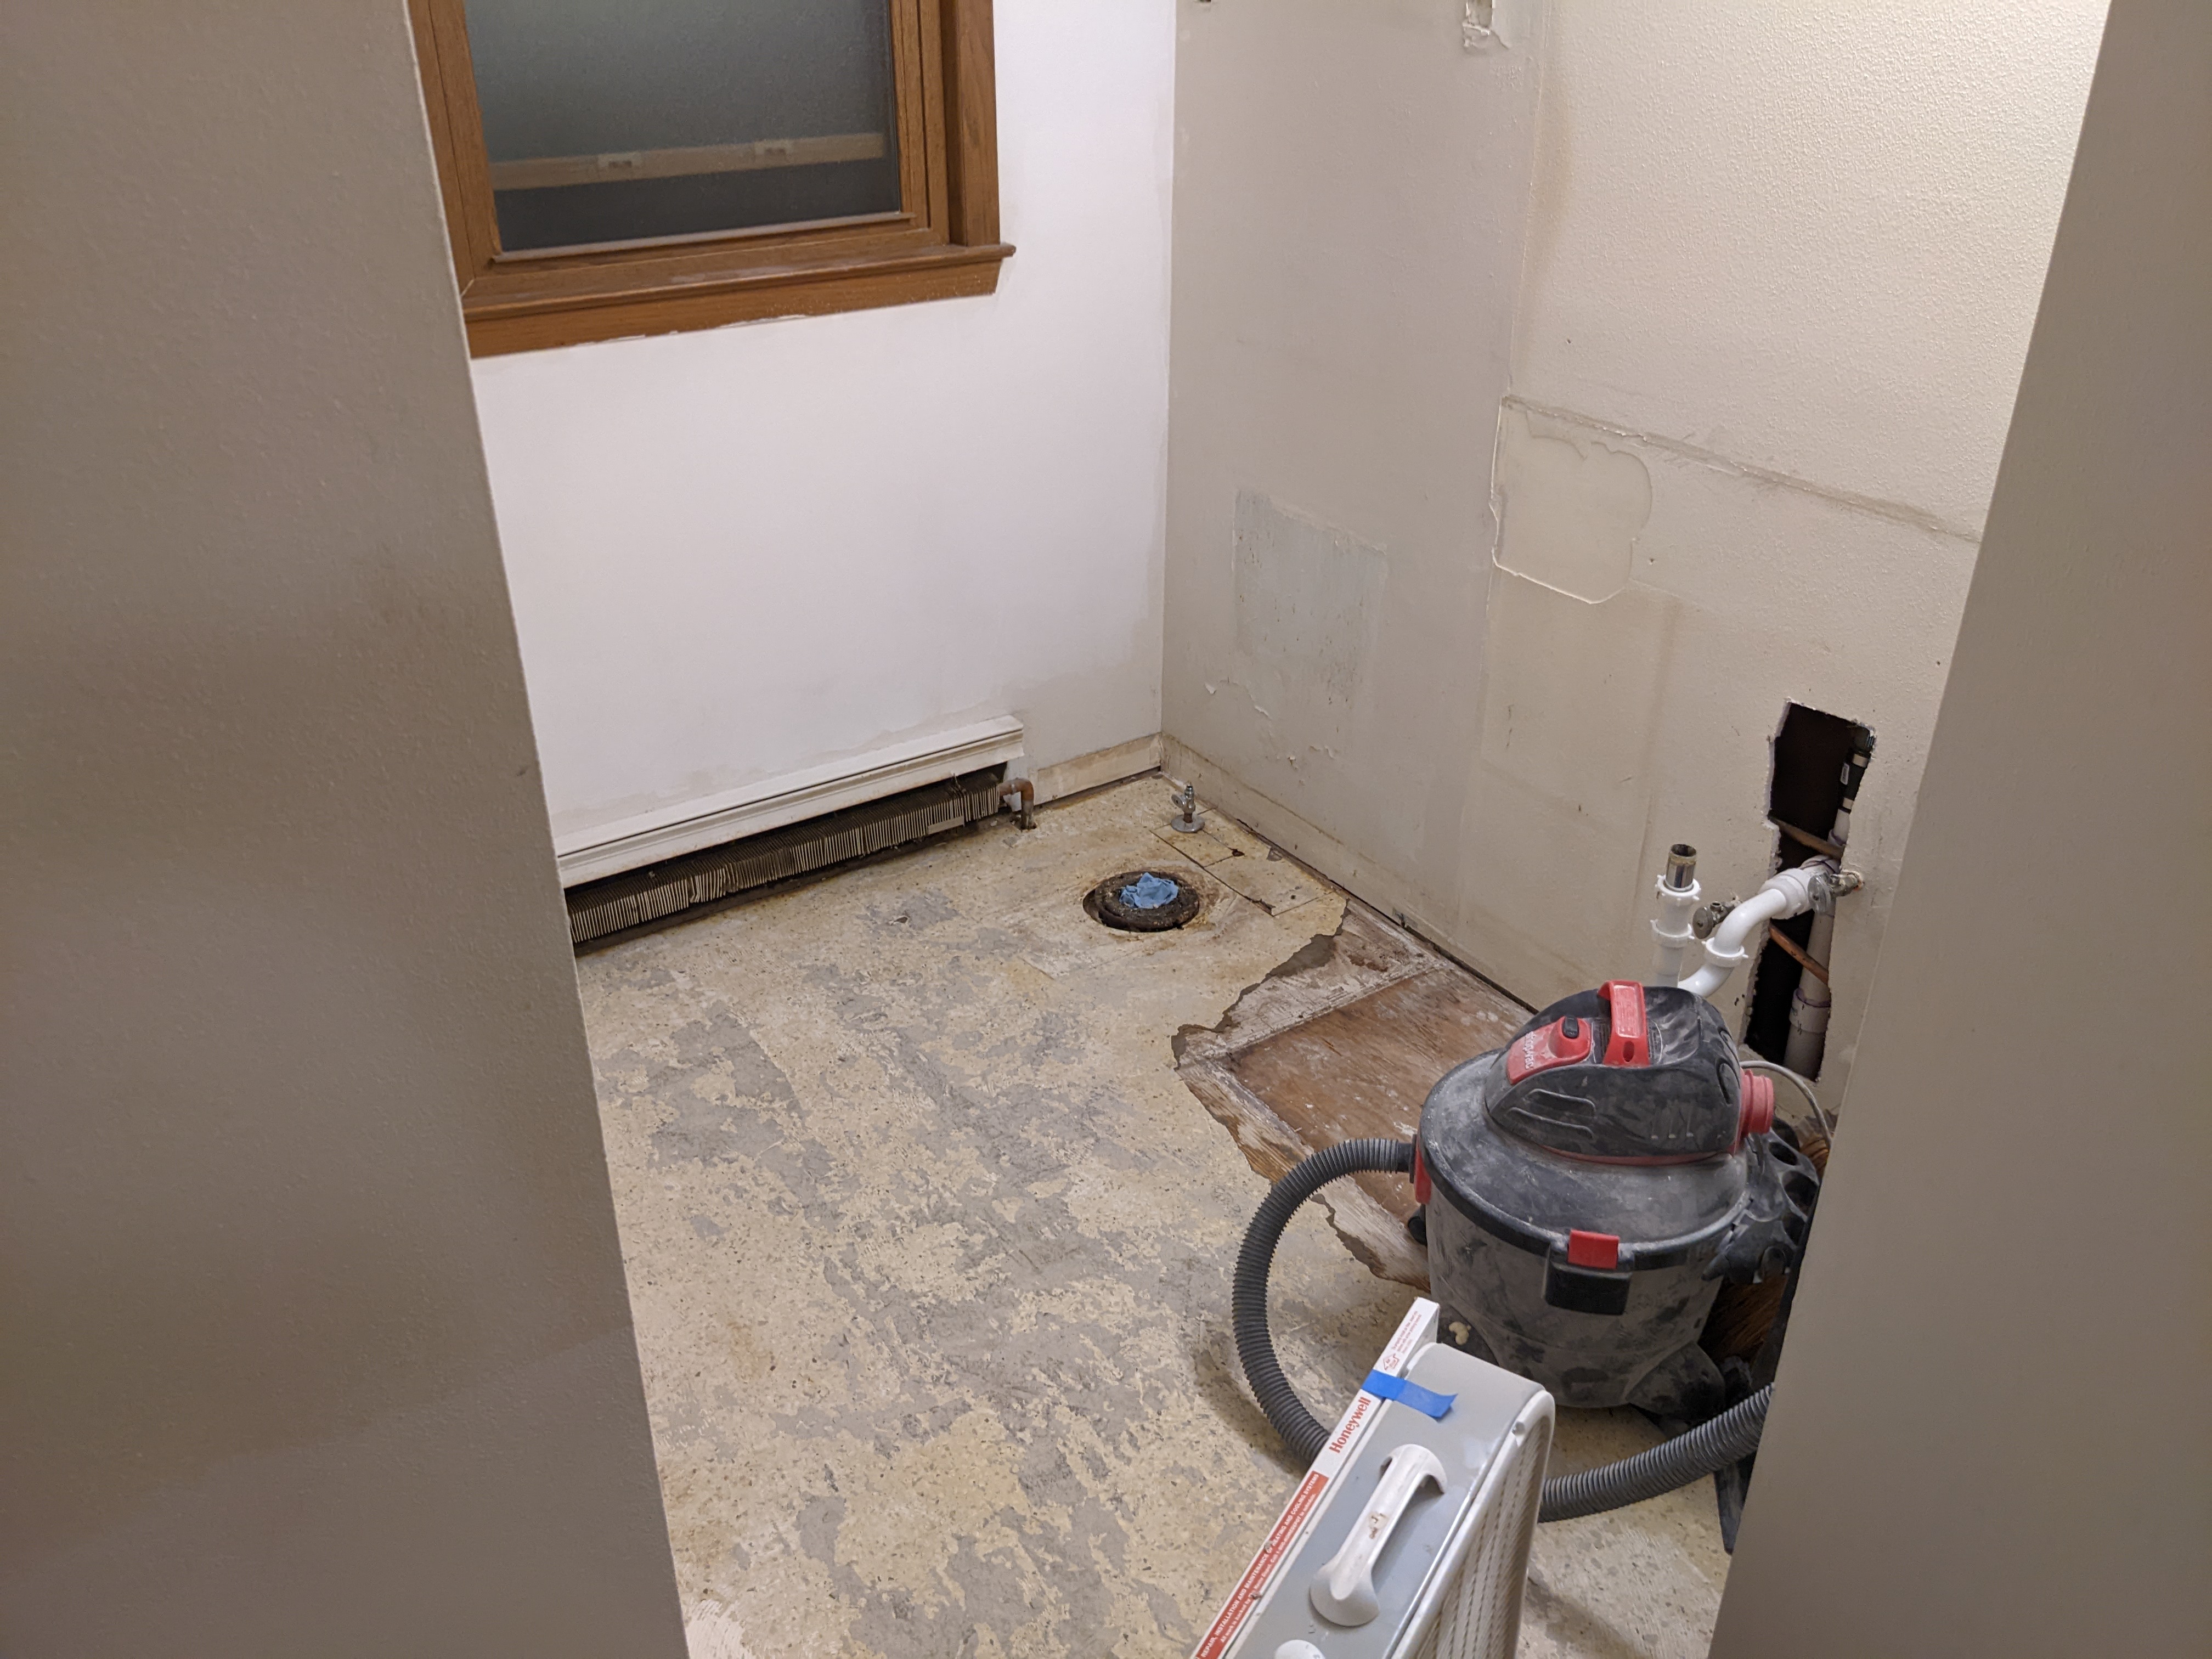
Once the fixtures were removed I focused on the floor(s).  The first layer, which Vincent calls the "ugly yellow floor" pulled up pretty easily, but beneath it was 1/4" plywood underlayment that was fastened down with 2" staples. I pulled all of these by hand with a small crowbar, some pliers, and a screwdriver. Under the wood was the next layer of blue flooring. This peeled up pretty easily and was just glued down on top of what I suspect is the original floor. Given the previous flooring materials I encountered in the basement I am 90% certain this last layer contains asbestos. I decided not to remove it and just filled in the low spots and holes with a self leveling compound in preparation for the new floor.

Yellow floor and plywood removed.

Probably the original (asbestos?) floor.

Cleaned and ready for prep work.

Filling in some holes.

Fill in the low spot where the vanity was.

With the floor prepped and before I installed the new one I did some work on the wall behind the vanity. I added an outlet where the mirror will be installed to have power for a future fogless/lighted mirror. I also added an outlet near the toilet for a bidet. These are protected by the GFCI outlet on the right wall (out of picture).

New outlets.

Next was the flooring. We chose a LVP product for the waterproofness, durability, ease of installation, and color options.  The Banff Gray Hickory flooring from Home Depot is what we selected and it went in pretty quickly. I did have to make a lot of cuts around the curved tub apron but overall installation was simple and the results are great. Most of the straight cuts can be done with a utility knife and the plank is snapped. Other cuts required a fine tooth jigsaw blade to follow curves or for shorter cuts and notches. Since it is a floating floor, nothing had to be fastened down and the 1/4" expansion gap around the perimeter gets covered by the base and shoe molding.

Starting floor installation.

Flooring installed.

After the flooring was installed I covered it in rosin paper to protect it while I worked on the rest of the room. A few areas required drywall patching and retexturing before paint. I also installed the shiplap wall behind the vanity. After everything was taped off I used my HVLP sprayer to paint the entire room. I did not want to have to brush all of the shiplap joints and then roll it out. This was followed by the trim which was all brush painted as well as the baseboard heater covers (wirebrushed, primed, then painted).

Floor protection in.

Shiplap installed.

Painting.

After paint I was able to install the light fixture so I could stop having to step around my portable lamp. This made a huge difference in the room and also made it easier to move around and get work done without the large stand of the worklight.

Most painting complete. Light installed.

Then I could start installing the rest of the fixtures, beginning with the toilet. I reused our existing toilet, but because the closet flange was originally installed incorrectly (90° from the correct orientation) I took this opportunity to install a repair kit that will put the flange bolts where I need them and not let the spin when installing the nuts as they previously did.
Toilet installed on repaired flange.

The vanity was next and I also took this time to install new 1/2" shutoffs to go along with the bypass valve used in the recirculation function of our recently installed tankless water heater. After some caulking and testing, the water was turned on and we could use the sink.

Vanity installed. 

We selected a mirror from IKEA during our last visit there. Maybe in the future we will get something with a lighted frame or a fogless model since we have the outlet for it.

Mirror completes the vanity area.

With the interior of the bathroom done I then installed the new craftsman style 3 panel door and trim. This door matches the new ones installed for the nursery 3 years ago. The last steps are to paint this trim and caulk the seams and that will wrap it up. The only other thing we may add is an above toilet cabinet for some additional storage but that can come later.

Thursday, December 29, 2016

Proper Poopers

One of the things that has bothered me since we got the house has been the very old toilets that don't quite flush right. They are also quite low for someone of my height so I wanted to upgrade them. The one in the lower bath also had a crack in the wooden seat and this finally gave way during our holiday party. The seat split totally in half and I decided it was time to just swap out both commodes. The downstairs bath was much easier than the upstairs and you'll see why below. But let's start with the simpler replacement first. It starts by turning of the supply and draining the tank and bowl then removing the supply connection and closet bolts holding the bowl to the floor.

The original pooper with tank top removed.
Using a small putty knife I removed the old wax ring from the closet flange and removed the old closet bolts. I also scraped off the caulking that was around the base of the old toilet. Then I installed the new bolts and applied the new wax ring to the bottom of the new bowl. When installing the new bowl you need to set it down flat using even pressure to ensure the wax ring makes a proper seal. Align the closet bolts and set the bowl down over the flange. Using the provided washers and nuts I tightened down the bowl snugly but not too tight as the porcelain can easily crack. Then it was just a matter of attaching the tank and new supply and filling it up.

New toilet installed.
The upstairs toilet wasn't quite so straightforward. Unfortunately the base of the new toilet is much larger which interfered with the existing supply line that come up through the floor. So in order to install the new toilet I had to move the supply line and I started by using my oscillating tool to cut the floor open. There were several layers to cut through: top vinyl, 1/4" plywood, more vinyl, 3/4" plywood, and then the 2x6 flooring over the joists.

Notice the supply location and starting cutout.

More flooring removed down to the 2x6 base layer.
After removing all of the flooring I cut the pipe below the floor and removed the above floor portion. I dry fit a length of pipe with a straight joint to get the length I need the supply moved over. I also capped a straight bit of pipe and attached an elbow for that will turn the pipe to come above the floor. This section I soldered separately since the elbow is very close to a joist in the floor and I wouldn't have enough room to solder when in the joist cavity. The only joint I needed to solder in the floor was the straight joint and I used a piece of fire cloth to protect the wood in the floor from catching fire from the plumber's torch.
Moved supply.
After all of the connections were made I turned the water back on to test the joints and everything held strong. I then proceeded to rebuild the floor back to the height of the rest of the bathroom with the pieces I removed. I bored a new hole for the moved supply line with a 3/4" paddle bit in my drill. I fastened the flooring down with some 1 5/8" screws. After the flooring was put back in place I turned the water back off so I could install the new valve for the supply line. I used a compression fitting so I wouldn't have to solder any more.
Flooring replaced.
I didn't bother gluing down the vinyl since we will replace all of the flooring when the bathroom remodel happens. The toilet covers most of the cuts anyway so nobody will really notice it.

Installed.
After all that was done I could actually install the toilet like I did downstairs. This went very smoothly from this point forward and only took a few minutes to do. If you don't have to move a water line, a toilet upgrade is actually very simple.

Monday, February 22, 2016

A Quick Bathroom Makeover

I've been very busy as of late with travelling and such so I haven't gotten around to many house projects recently. However, with us planning to sell at the beginning of summer Siri had her Realtor friend pay us a visit and suggest various things we could do to improve the marketability of the house. One such project was the bathroom, which I had planned on doing a few things in anyway. The vanity top had been dulled by repeated cleaning and I wanted to replace it. This led to assessing the cabinet and deciding to replace it as well. This led to a new medicine cabinet and so on and so forth. 

So let's get right to it! I started by moving all of my stuff upstairs to our second bathroom and then took down the medicine cabinet and removed the vanity. I made sure to run a razor knife around the vanity as it was painted in. There was also a bit of caulking to remove from the backsplash. What I found was the new vinyl over an equally ugly older vinyl floor. I also removed the toilet tank to make it easier to paint around. I applied some primer to a few areas that needed it as well as the bare drywall that was behind the old vanity. I scraped some the the caulking and paint ridges off the wall that was around the cabinet to give me a smoother surface for painting later.
Disconnecting plumbing.
Some spots on the wall need priming.
Old vanity is out.
Some rot on the lower right corner.
Priming.
More primer! 
That was done after work on Wednesday after a few errands. Thursday was a long day and started with me driving to HOBO after work to get a new vanity combo. It is a small white combo about the same size as the old one. When I got home I taped off the moulding so I could start with the white for the trim. While that dried I started putting the vanity together. I picked up a new faucet as part of this project and installed in on the top. It is much easier to do this before you assemble the cabinet. I also installed the drain and stop at this time.

Taping and painting.
The trim looks a lot cleaner now.
New top! Putting the faucet in before assembly.
After the moulding dried I started painting the walls a light gray we had picked out. I taped off the tile and ceiling since I didn't want to paint either of those areas. This went very quickly as the bathroom is a very small space. I probably didn't need to get a full gallon of paint. When this had all dried I could start reassembly of the bathroom.
Gray walls. Left the fixture brackets up since the flanges cover them.
Replaced the tank.

I started with the new light fixture: a chrome light bar with three globe lights. I also changed the switches and outlet to white since the existing almond colored pieces don't really match the new gray. I put the tank back on the toilet and installed the new vanity cabinet. I was fortunate in that the base of the cabinet covered the entire area of the vinyl that was cut around the old cabinet. I did have to cut some notches for the supply lines as they exit the wall relatively high up. I mounted the cabinet to the wall with a few screws into the studs.
New vanity in with notches for supply lines.

Next I put the vanity top on. Because of the placement of the supply lines it was a bit difficult to attach the braided lines to the shutoff valves. The drain's trap already had a flexible neck so it was easy to maneuver to connect to the sink. A few lines of caulking around the cabinet is all that is needed to attach the top. After everything was in position I placed a bead of caulking along the backsplash to stop water from getting behind it.

Vanity top, medicine and storage cabinets installed. New light fixture up.
Hanger back up.
The last steps were to hang the new storage pieces and paint the door. It was already late (about 11;30pm) but I needed to finish as my brother was visiting this weekend. I hung the new medicine cabinet and storage cabinet with some anchors and left the door for Sunday since I had to work the next day. I rehung the toilet paper holder and towel bar and put my shower curtain back up. After my brother left I painted the door in the living room and rehung it.

Painting in the living room.
Rehung the door.
This was a fun project but a bit rushed. I ran in to one problem when I found that the outlet I bought was faulty. I've already replaced it with a working one but I still have a few tasks for this room. The grout in the shower is stained and the caulk lines are a bit moldy. I'll have to clean these areas up as well as seal the window sill that is in the shower so water won't leak into the wall.

Monday, February 16, 2015

Repairing the Toilet

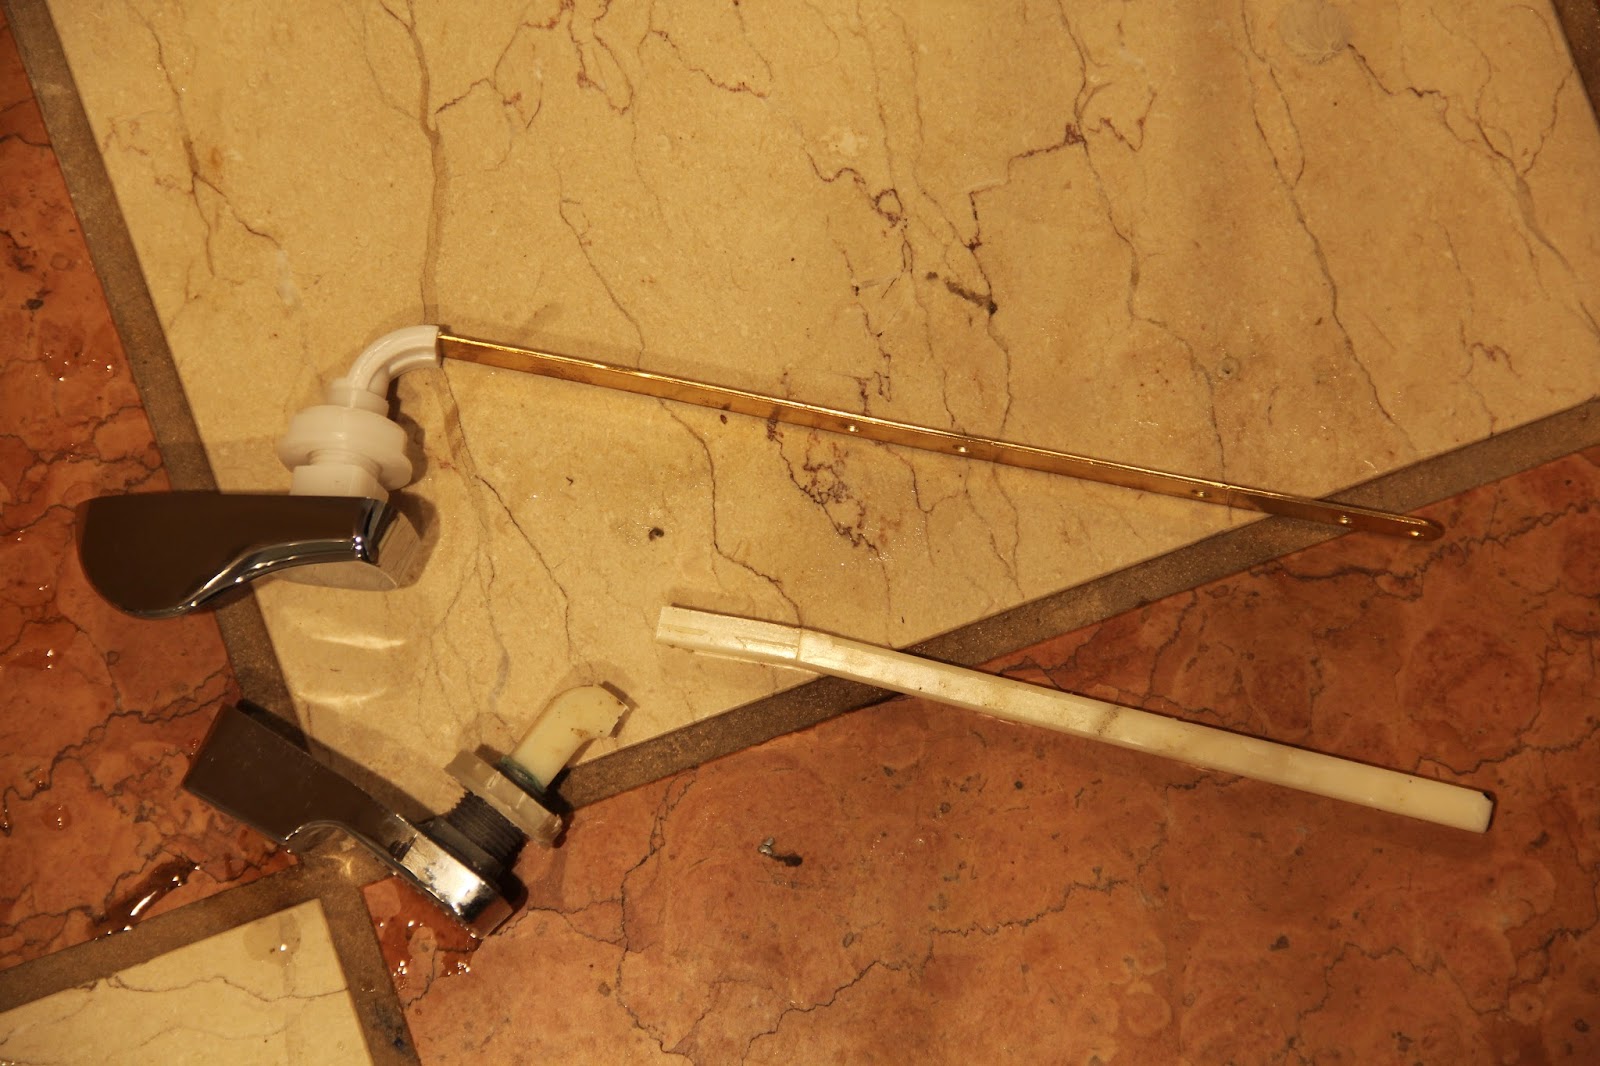
The master bathroom has a toilet that has been very difficult to flush. This was probably due to the type of flush valve it had on it. Instead of a normal flapper, it had a tube that was lifted vertically, requiring the entire seal to be broken at once rather than peeled up like a flapper would. See the pictures below to help understand what I'm describing. Well the plastic flush lever finally gave way last night so while I was replacing it I figured I would replace the valve as well to make it easier to flush.
The broken lever.

Here is the strange flush valve that pulls straight up.
The first step in any toilet repair is to turn off the water and drain the tank. The tank is typically held on by two or three bolts (mine had three). I also removed the filler at this point to avoid breaking it as I worked.

Turn off the water.

Tank removed.
The flush valve is fastened to the tank with a large plastic nut covered by the tank gasket seen above. The gasket just pulls off and the nut is removed fairly easily.

Removed the old flush valve.
Below is the new flush valve on the left with the old valve on the right. Notice the very different mechanisms.

New (L) and old (R) valves.
After replacing the old valve I just reverse the steps to reattach the tank being sure to properly seat the gasket to avoid leaks. I slowly turned the water back on to fill the tank and check for leaks. Notice that the new valve is offset to the left, this is to allow free movement of the fill bulb which opens and closes the fill valve depending on water level in the tank.

Refilling with water.
Next I replaced the broken lever with a new metal one I picked up at Lowe's. With the stronger lever and better valve, this should last quite some time.

Brass lever replaces plastic.

Adjusting the chain.
The last step was to adjust the flapper chain. This step is also useful if you have a running toilet. Adjusting the chain length determines how well the flapper valve is seated and can eliminate slow leaks that cause toilets to run every so often.